The Process to Create Custom Disney Prints – Guest Post from MainStreetArtCorner
Editor’s Note: Below is a guest post by Michael from mainstreetartcorner.com. He will discuss a little of what goes into creating the prints. He has a variety of prints drawn from Disney & Pixar films as well as the parks. For example there is one from the Disneyland Skyway Chalet mural that is a great way to relive this bygone attraction. And to top it off he is a fellow Trojan Alum!
Hiya Disneygeeks!
It’s Michael from mainstreetartcorner.com. Jason was kind enough to let me to do a guest post about my process creating custom artwork, and as a long-time Disneygeek, how could I say no?
For those who haven’t had the chance to check out my site yet, let me start with a little about me. I was a Disney Cast Member for almost ten years and when I left in 2004, I learned that you can take the guy out of Disney, but you can’t always take the Disney out of the guy.
So even though I’ve been working in the “real world,” since early 2015 I’ve also been working with Disney to create limited-edition artwork and personalized custom pieces inspired by Disney art. Named after the Tomorrowland Art Corner location that sold animation cels at Disneyland until the mid-1960’s, my goal is to create unique, one-of-a-kind keepsakes and limited-edition artwork for the true Disney fan.
Once such custom piece is my new print “You’ve Got a Friend in Me.” Named after the iconic song from Disney•Pixar’s Toy Story, the giclée print features Woody sitting on the floor of Andy’s room, or maybe it’s your room? All of our prints at Main Street Art Corner are printed to order, so they can be customized with the colors that you choose, or in this case, your name.
So, my creation process for any piece of art begins with a quick sketch, usually done as soon as I have the idea, like this:
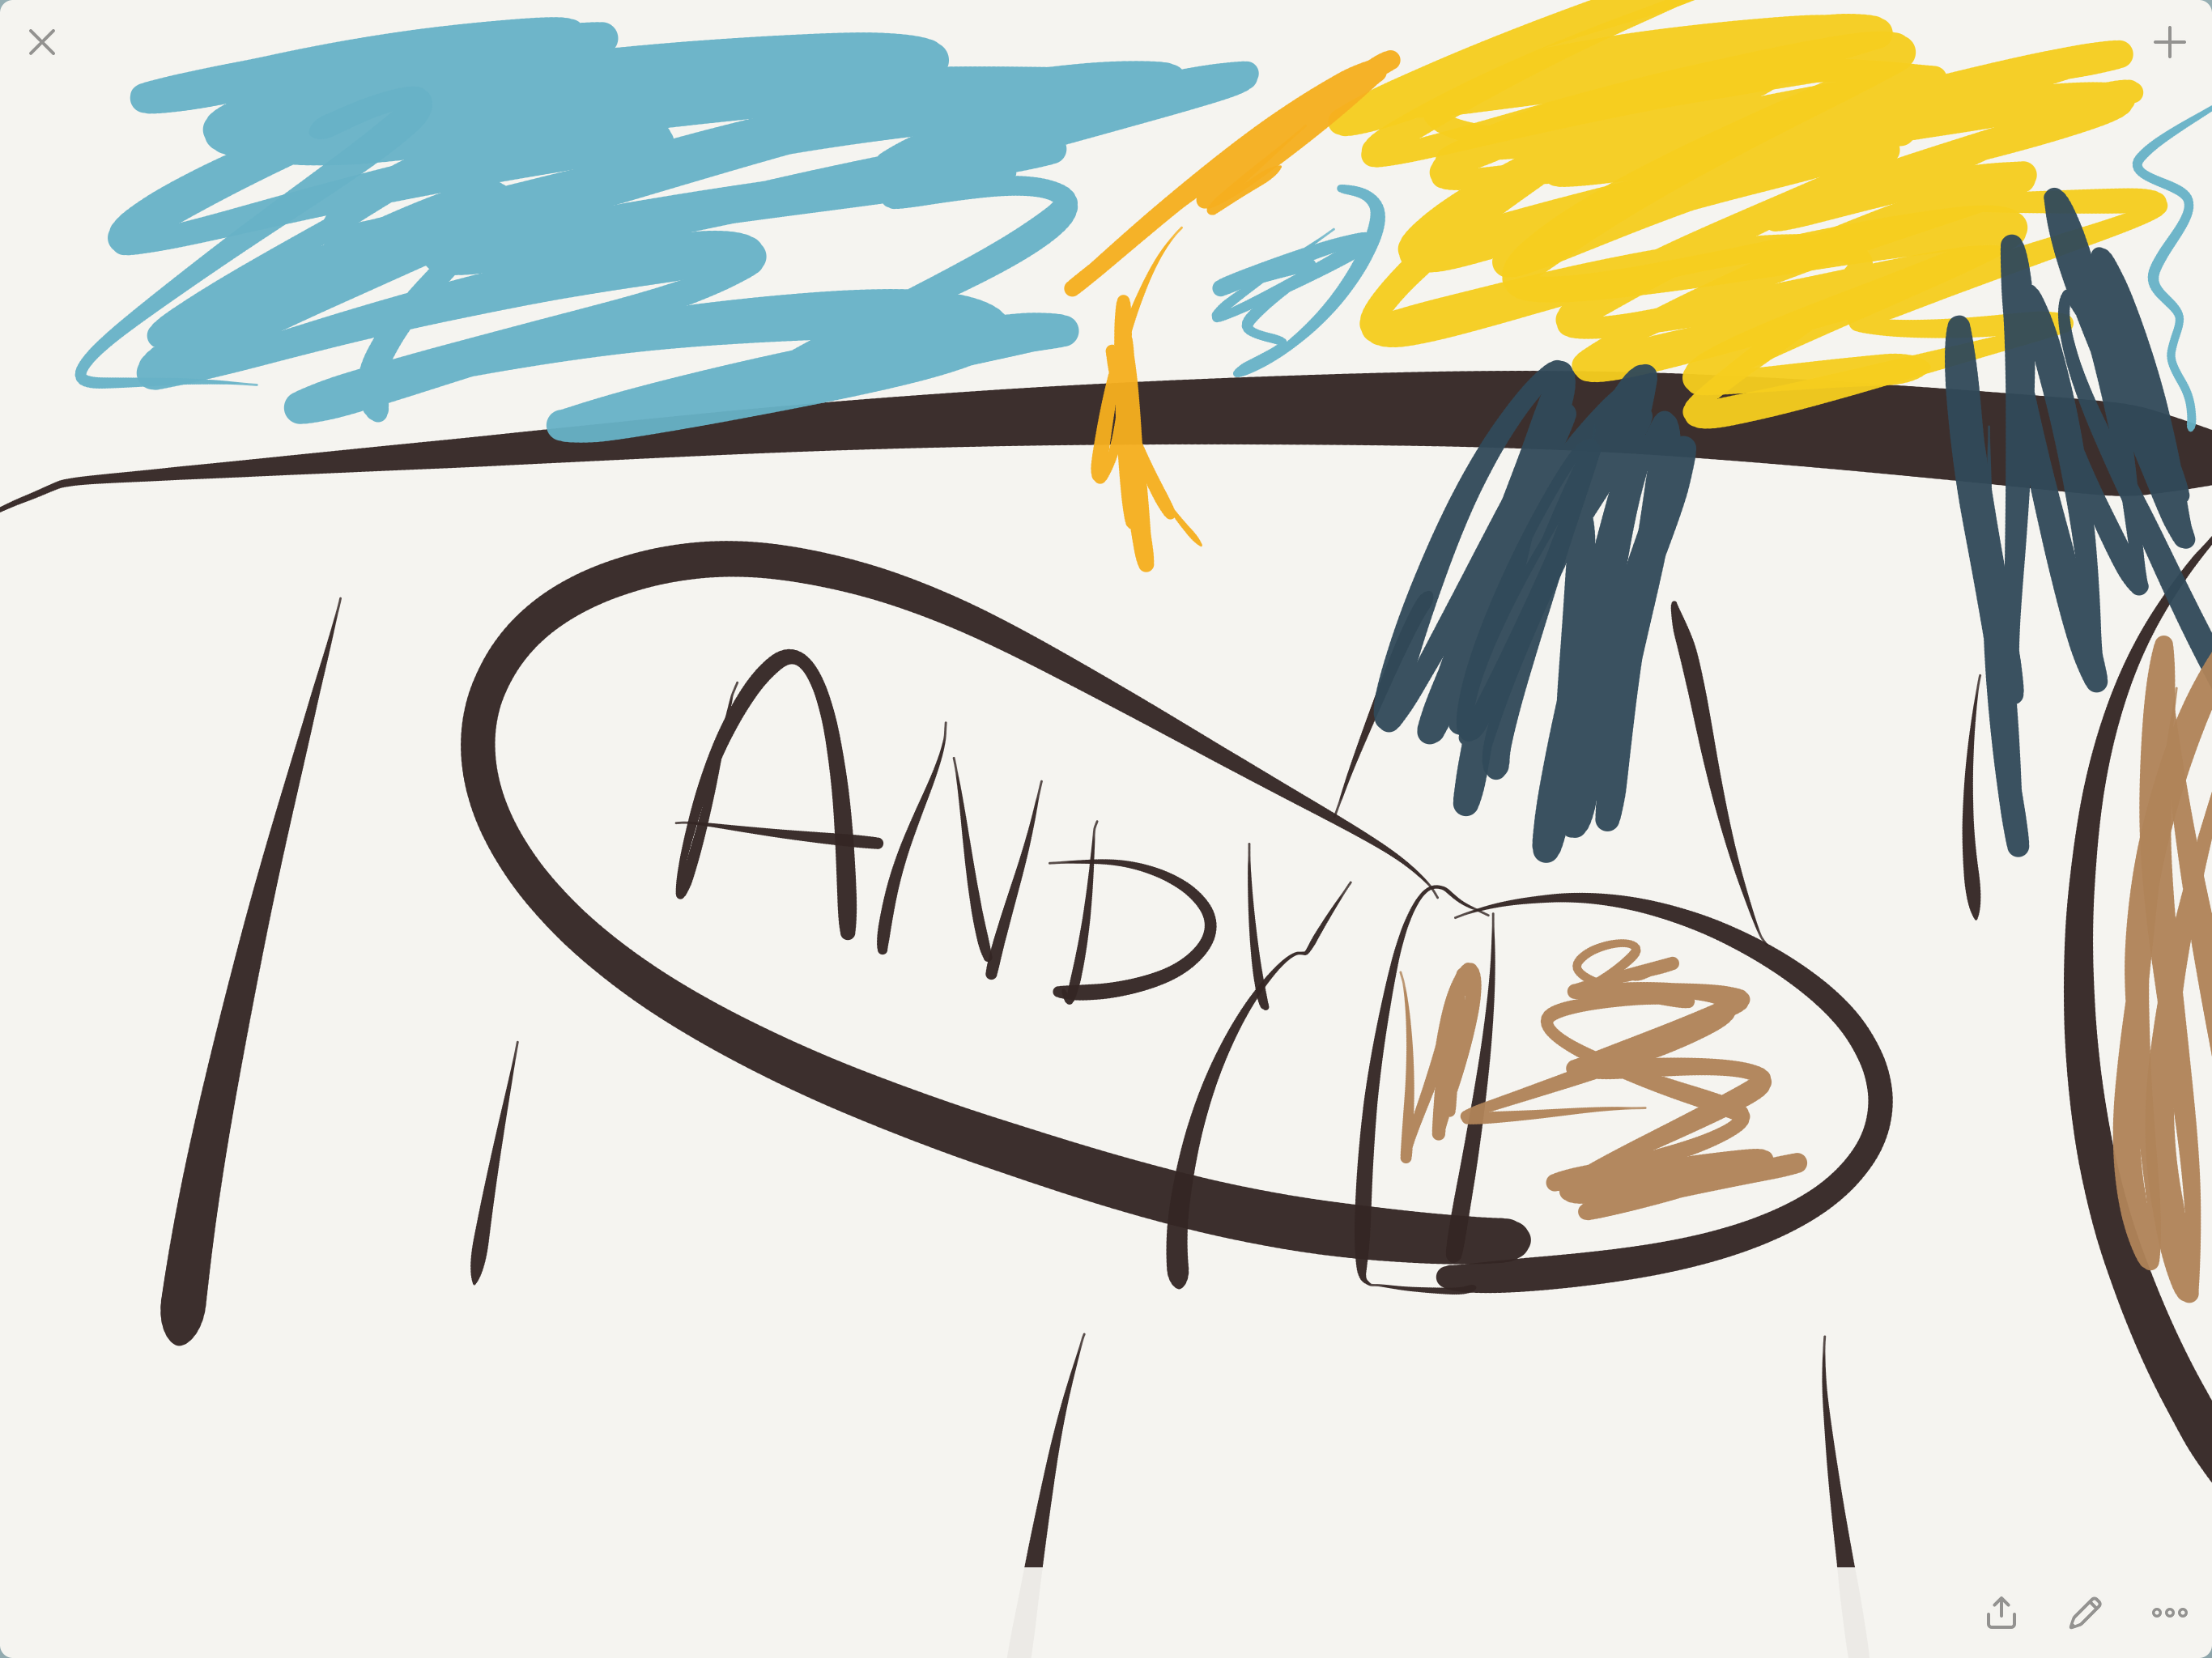
I usually don’t include a lot of detail in my sketches. I just want to get the idea saved into my iPad so I don’t forget it later.
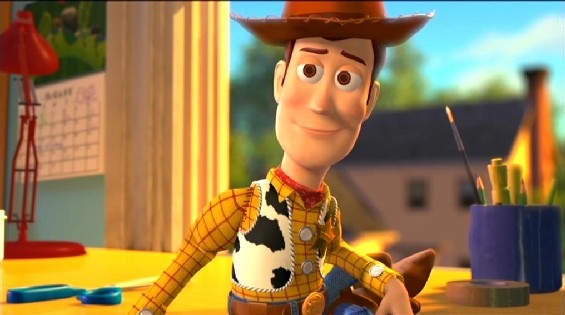
Once I decide to move forward with a piece, I’ll start by researching the detail I want to show throughout the print. In this case, that includes everything from reading various Disney art books to rewatchingToy Story, Toy Story 2 and Toy Story 3.
For this piece, I made notes about everything from the angle of the texture in Woody’s shirt to the color of his denim jeans and from the size and shape of his boots to the detail in his plastic belt buckle.
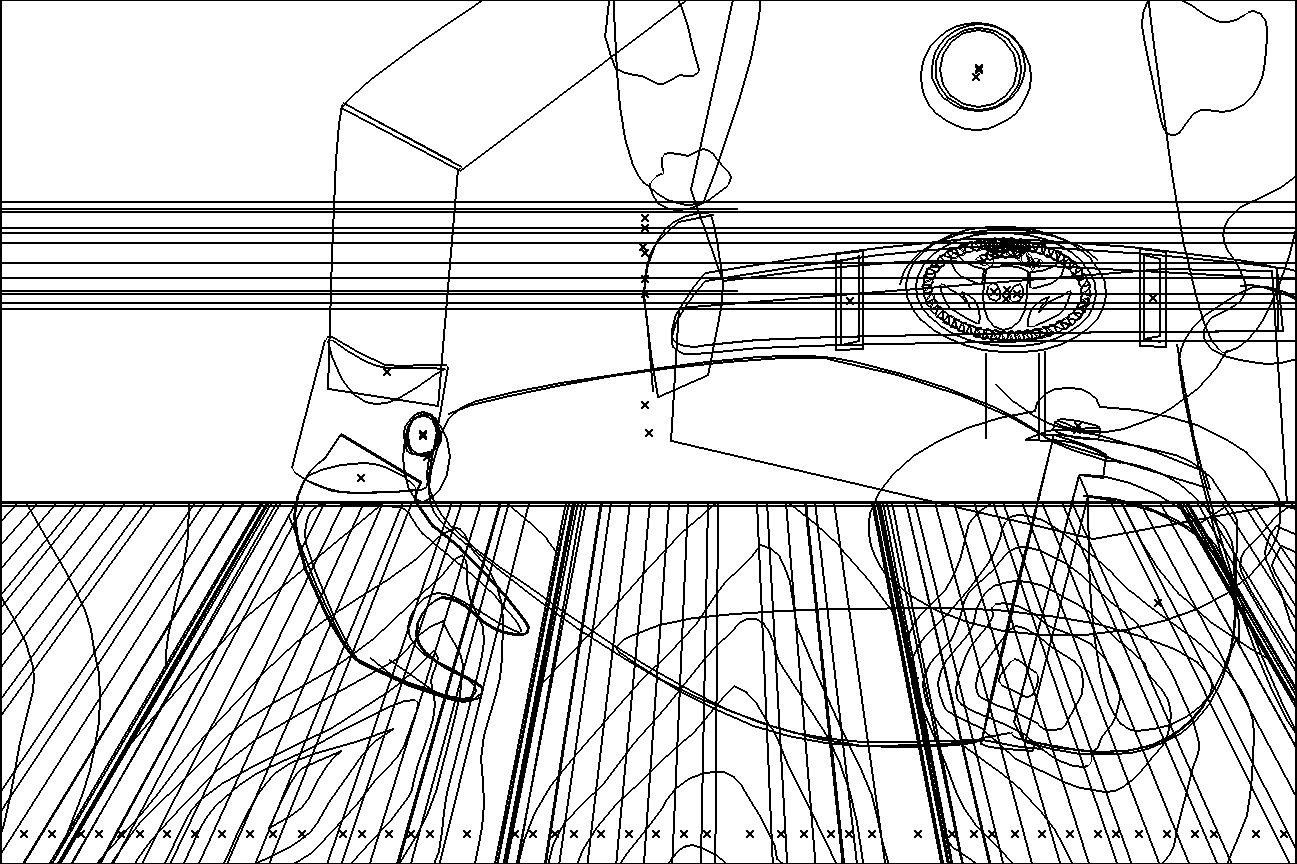
Once I’ve finished my research, I start with an outline of the piece. I add more and more detail until I’m happy with the way it looks. Here’s one of my outlines for this piece:
Then I start adding color and shadows to my outline. Layer by layer I add more detail and texture.
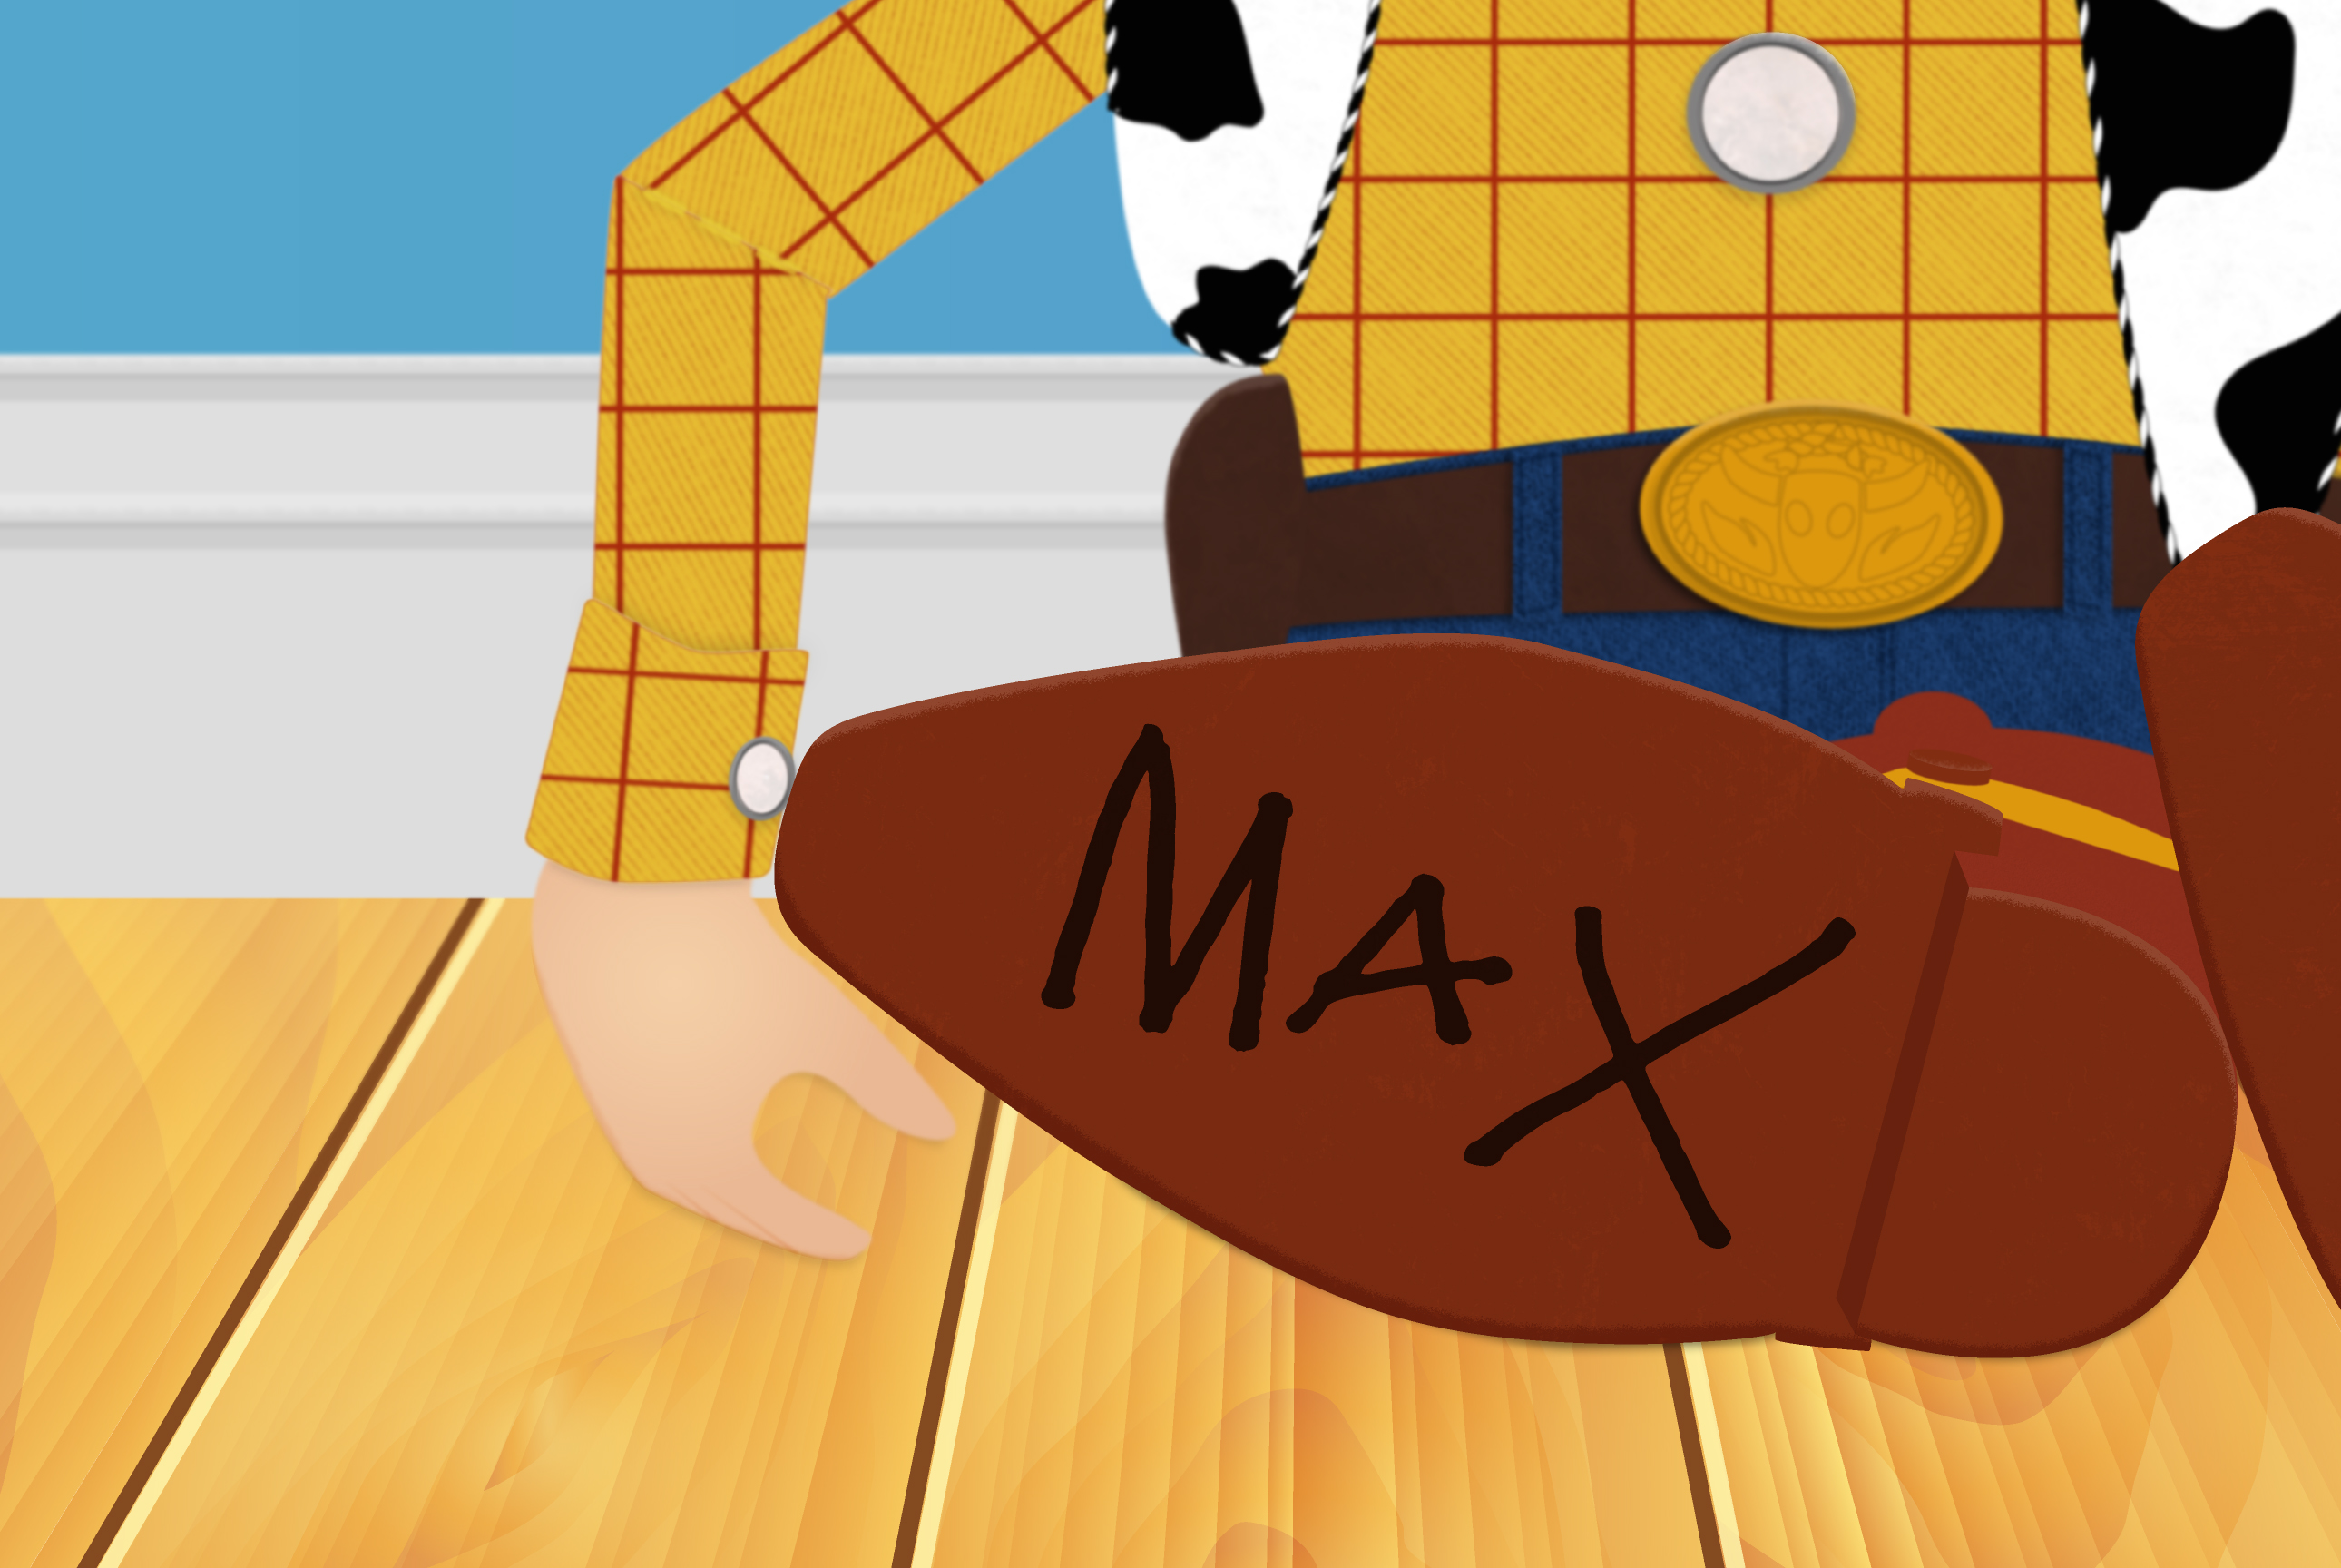
Then I blur portions of the image to make sure the viewer’s attention goes right where I want it to go. Once I’m happy with the final result, we do a test print to make sure everything looks as it should. Then we take some photography for the website and make the print available for sale.
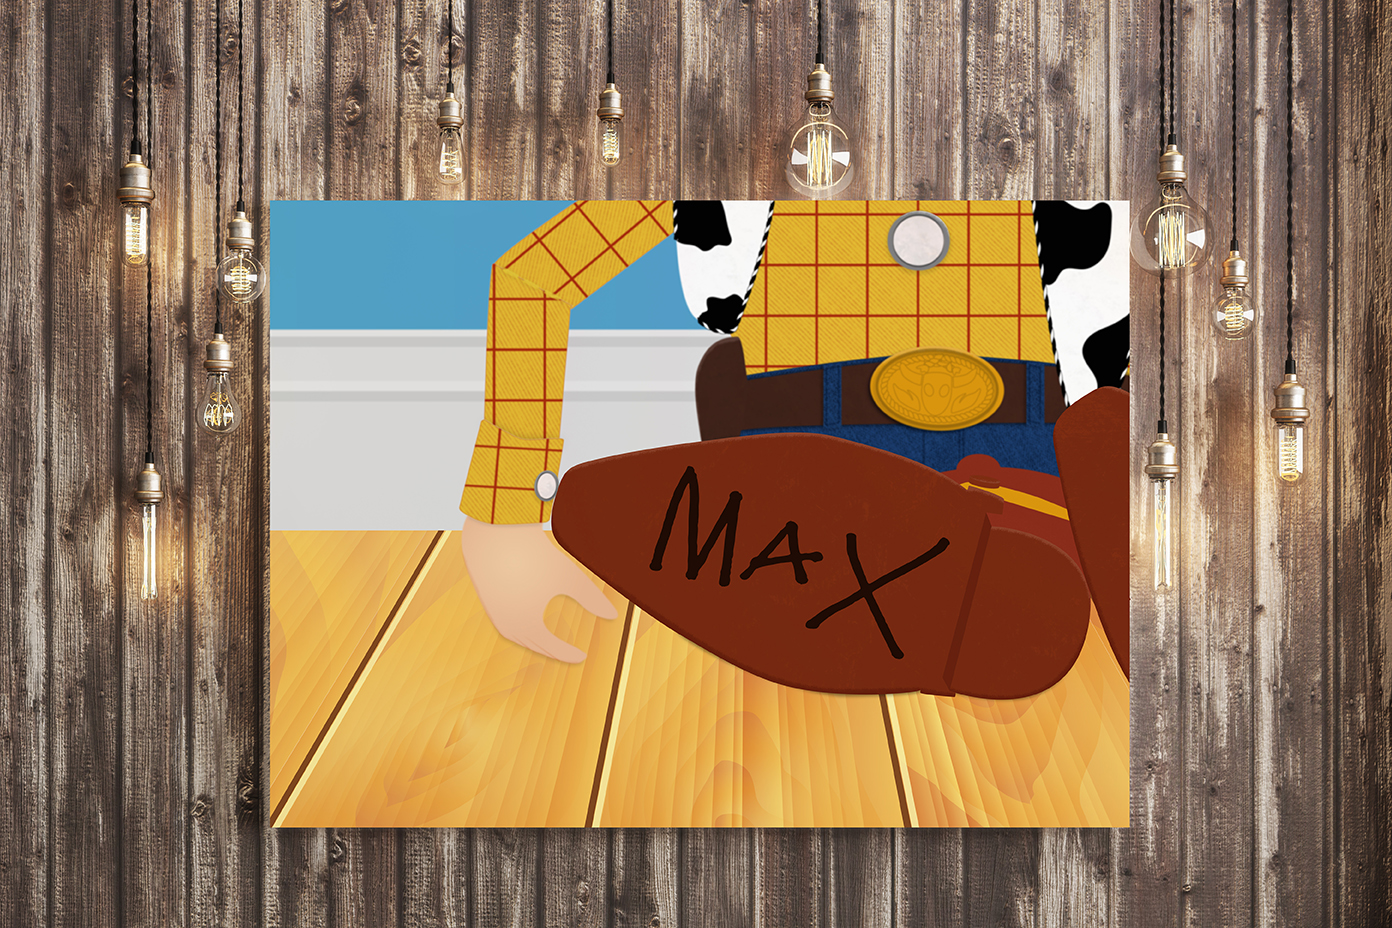
Once an order is placed, we work the guest to create a proof that must sign off on. Our goal at Main Street Art Corner is to make sure each guest is completely thrilled with their custom print, and we won’t go to print with their piece until we know they’re happy with it. After the proof is approved, I work directly with the printer to create the giclée print on fine art paper or stretched canvas. The Certificate of Authenticity is signed and placed with the art that is then very carefully wrapped and prepared for shipment.
We offer a wide variety of limited edition and custom prints for Disney fans of all ages at mainstreetartcorner.com. And we’ve got unique Disney history stories on our blog. We hope you’ll stop by and check us out today!

